Yes, I made an ArchLinux install script. Over time, I found myself having to install ArchLinux on various devices and Virtual Machines a lot for test purposes. Of course, I could've installed it once and then simply cloned it to new devices or VMs, but this was not always ideal. Sometimes, I needed fresh and up-to-date installs.
So, I recently re-made my personal install script which I made available over on TechKeep's GitHub repository and named it "ArchUn".
It only takes a few seconds to download and launch the script with its default settings. With it, performing a basic ArchLinux installation takes around 1 minute (depending on download speeds and hardware performance). The whole process (initial installation and installing a Desktop Environment) takes around 4 or 5 minutes in total. Here's a demo I uploaded to YouTube; it only took under 3 minutes to do a full installation.
A fair warning, however: this script will format and use the whole destination drive (in other words, erase everything), so it's not meant to be used to add ArchLinux as a dual-boot option. Of course, you can always install this first, and then install a dual-boot-friendly operating system afterwards.
Please note that this script is still in an experimental state and will be enhanced over time.
Preparing for installation
The first thing you need to do is to grab ArchLinux's latest .iso file from their download page. Once you have that, prepare the installation media of your choice using tools such as etcher or rufus (you do not need to use these tools if you are installing ArchLinux in a Virtual Machine; you only need the .iso file) and boot up the machine with the installation media.
Once you have booted into the installation media and are presented with a command prompt, you can start the process below.
Step 1 - Getting the script
- Type in the following and press ENTER (yes, you also need to include the
https://): curl https://raw.githubusercontent.com/TechKeep/archun/main/archun.sh -o archun.sh- ArchUn is now downloaded.
Step 1.2 - Installation Drive
/!\ WARNING: The default settings assume your installation drive is /dev/sda /!\
You can find out the name of the drive you want to use using the following command (the -l is a lowercase L): fdisk -l

The output of the fdisk command. I have highlighted what you want to know with a green rectangle.
- If your drive's name is something other than
/dev/sda, please follow the instructions below. - If your drive's name IS
/dev/sda, you can move directly to "Step 2 - Launching ArchUn".
In order to change your installation drive, you must follow these steps:
- You can use
nano(or any other text editor of your choice) to open the script in text mode: -
nano archun.sh - Find the
DEFAULTDISKvariable within the "User-defined variables" section. - Change
/dev/sdato the name your drive uses (which you found out with thefdisk -lcommand). - If you have an NVMe drive and its name is something like
/dev/nvme0n1, pay attention to the comments around the variable. - Once everything is set correctly, save and exit out of the text editor.
Withnano, you need to press CTRL+X, press Y and then press ENTER.
Step 2 - Launching ArchUn
(OPTIONAL) If you want to edit any settings, open the script with a text editor (more info at the bottom of the page).
If everything looks fine and you understand that this script will format and use the whole destination drive (which will overwrite and erase everything), you are ready to proceed.
- Launch the script:
-
bash archun.sh - Press 1 and then ENTER to select the option named "I understand".
- You will be presented with a detailed menu asking you in which mode you want to proceed. Choose carefully.
- You will once again get a few warnings about erasing the whole drive. Press ENTER a few times to accept and proceed.
- Once everything is over, you will be asked to create a password.
This will be the password for therootaccount. - If you chose to install extras at the beginning, this is when the menu will appear. If not, the script will exit.
- Installation complete!
Conclusion
The installation is complete. You can now eject your installation media and reboot the machine and be met with GRUB2 (a boot manager), which will allow you to boot into your ArchLinux installation.
If you installed a Desktop Environment, don't forget to select it in the Session Manager before logging in.
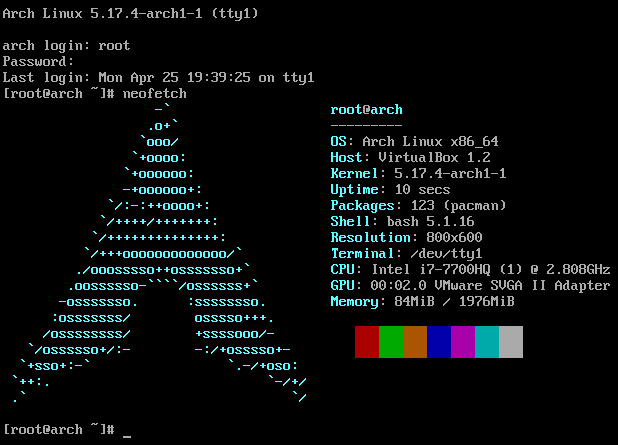
NEOFETCH was used to display system information in command-line mode.
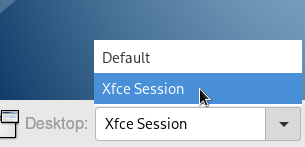
With
LXDM, this is located in the bottom left corner.
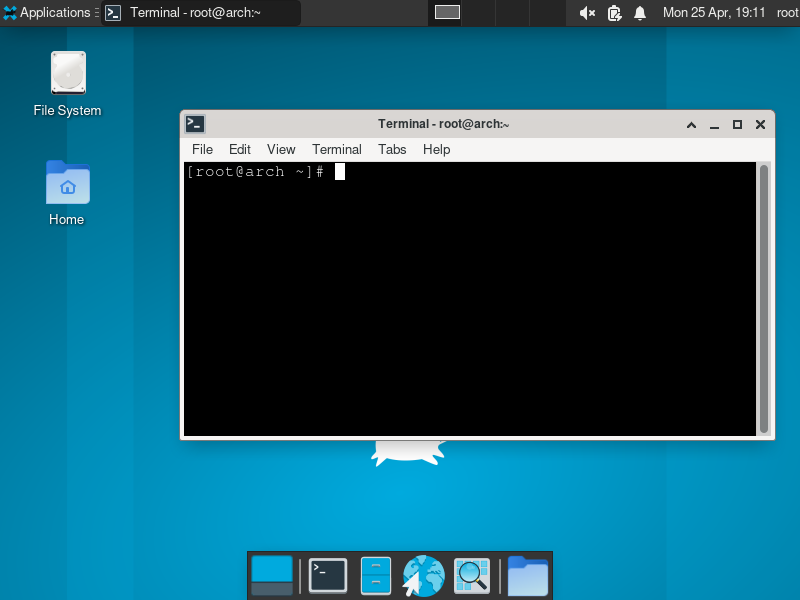
Screenshot of the final result when using
XFCE as a Desktop Environment with its default configuration.
(OPTIONAL) Changing the default settings
- This is the list of settings you can edit:
-
DEFAULTDISK="/dev/sda" BOOTPARTNUM="1" SWAPPARTNUM="2" ROOTPARTNUM="3" TIMEZONESTRING="America/Toronto" LOCALEGEN="en_CA.UTF-8 UTF-8" LOCALELANG="LANG=en_CA.UTF-8" THEHOSTNAME="arch" BOOTPART="300" SWAPPART="4000" ROOTPART="100" ROOTPARTSIZETYPE="%" - If you want to edit any of these settings, open the script with a text editor:
-
nano archun.sh - Move to a value that you wish to change within the "User-defined variables" section.
- MAKE SURE TO READ THE NOTES AROUND THESE VARIABLES WITHIN THE FILE TO KNOW EXACTLY WHAT THEY DO.
For this example, we will be changing the default LINUX SWAP value, namedSWAPPART. The number is in MiB. The default value for this one is 4000, which is roughly 4GB of SWAP (around 4.19GB). If you want for example 8GB, you would replace this value with 8000, like so: -
The amount of SWAP you need depends heavily on your use case. A good rule of thumb is to use 4GB or to follow these guidelines:# Swap partition size in MiB. Number only. SWAPPART="8000"- 2x your amount of RAM when you have 2GB of RAM or less,
- 1x your amount of RAM when you have between 2GB and 8GB of RAM,
- 0.5x your amount of RAM (minimum 4GB of SWAP) when you have between 8GB and 64GB of RAM,
- absolute minimum of 4GB of SWAP when you have over 64GB of RAM.
- Once you are happy with your settings, save and exit out of the text editor.
Withnano, you need to press CTRL+X, press Y and then press ENTER. - You can carry on with the installation by following "Step 2 - Launching ArchUn".
Last edited on April 30, 2022
Comments
You can leave comments and questions using the following external platforms:
Reddit
X/Twitter